Choosing the Right Wheel Size: Style, Comfort and Fitment
Wheels can change the character of a car in a single afternoon. A larger alloy can give a familiar hatchback a sharper stance, while a smaller wheel with more tyre around it can make everyday driving feel calmer. The choice becomes more interesting once you consider the commute, the roads near home and the next replacement tyre bill.
The best starting point is an approved wheel and tyre combination for your exact car. From there, choose the size that suits your priorities: appearance, comfort, steering response, durability and cost. Diameter is only one part of that decision.
This guide focuses on passenger cars used on the road. It explains how wheel sizes work, what changes when you go bigger or smaller, and which details deserve checking before you order. You can then shortlist a design with confidence and give your fitter the information needed to confirm it works.

Start with the sizes your car supports
Before browsing wheel designs, establish your current specification. Check the vehicle handbook and tyre information label, usually inside a door opening or sometimes near the fuel flap. Photograph the tyre markings on both axles. The handbook and vehicle documentation are your reference for approved sizes; markings on an existing tyre simply show what is fitted today. Michelin’s tyre selection guide explains where to find this information.
Record the year, model, trim and brake package as well. An entry-level version and a performance version can share a body shape while having different requirements. Tell the supplier about suspension changes or upgraded brakes, because these affect the fitment assessment.
Factory alternatives are useful candidates when they are approved for your particular version. A wheel offered elsewhere in the same model range still needs checking against your car. Ask the supplier to confirm the complete package, including tyre size and ratings, rather than relying on a photograph of another owner’s setup.
You may also discover that the current diameter already suits your needs. Changing the spoke design or finish can refresh the appearance while keeping a familiar tyre size and driving feel.
Understand wheel diameter and tyre size
A description such as 17 × 7.5 inches identifies a wheel’s nominal diameter and width. The diameter is measured at the tyre’s bead seat, where it locates on the rim. It is different from the overall diameter of the tyre surrounding it. Tesla’s wheel definitions distinguish these measurements.
Tyre markings add the other dimensions. For example, 225/45 R17 means:
- 225: the nominal tyre section width in millimetres.
- 45: the sidewall height as a percentage of that width.
- R: radial tyre construction.
- 17: the wheel diameter in inches that the tyre fits.
In this example, the nominal sidewall height is 225 × 0.45, or 101.25 mm. The aspect ratio is a percentage, so a “45-profile” tyre does not have a 45 mm sidewall. Tesla’s explanation of tyre markings describes these standard dimensions.
The remaining markings include the load index and speed rating. Keep those in your notes when comparing packages; two tyres can have the same dimensions and different capabilities.
Going bigger usually means using less sidewall
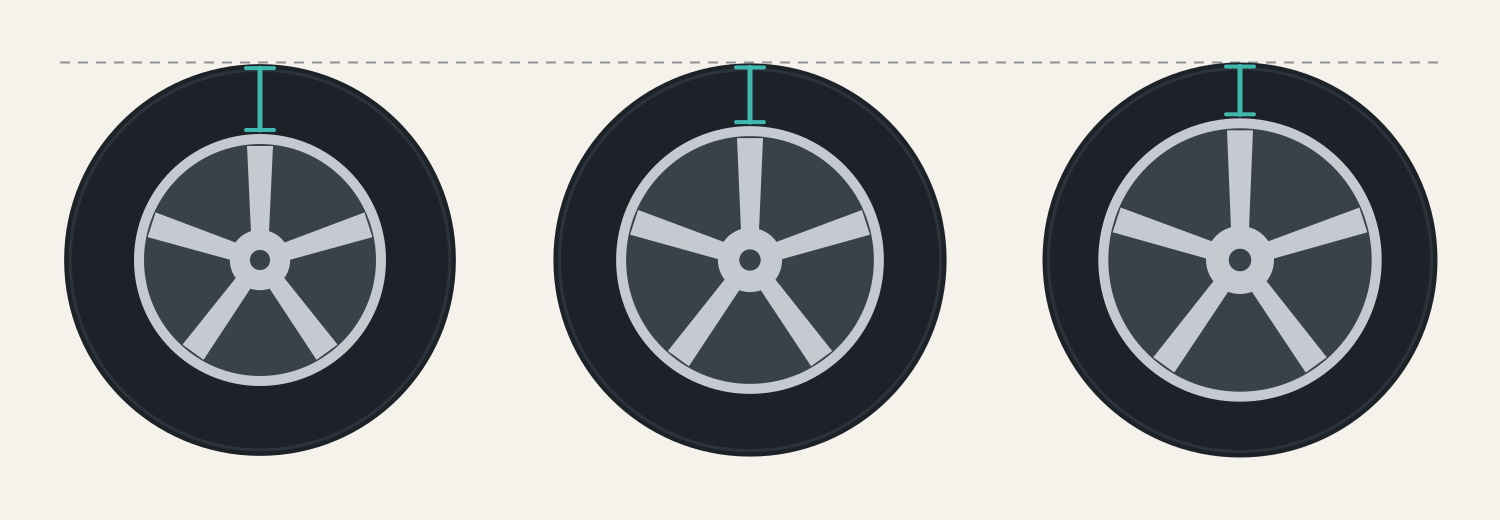
When increasing wheel diameter, a suitable replacement tyre normally has a shorter sidewall to keep the overall diameter close to the original. This approach is called plus-sizing. Continental’s upsizing guide describes lower-profile tyres on larger rims and the need to preserve rolling circumference.
Here is an illustrative comparison, calculated from the size markings:
| Tyre size | Wheel diameter | Nominal sidewall height | Approximate overall diameter | Difference from the first size |
|---|---|---|---|---|
| 205/55 R16 | 16 inches | 112.8 mm | 631.9 mm | Baseline |
| 225/45 R17 | 17 inches | 101.3 mm | 634.3 mm | +0.38% |
| 225/40 R18 | 18 inches | 90.0 mm | 637.2 mm | +0.84% |
The calculation is:
Overall diameter ≈ (wheel diameter in inches × 25.4) + (2 × tyre width in mm × aspect ratio ÷ 100).
These figures show why an 18-inch wheel can sit inside a tyre of almost the same overall diameter as a 16-inch wheel. They also show that width can change alongside diameter.
Overall diameter can affect speedometer readings. A calculator can flag a dimensional difference, but a result within a commonly quoted percentage is not vehicle approval. Follow the confirmed limits for your car. Continental’s tyre size guide explains why dimensions and vehicle approval need separate checks.
Treat the table as a geometry example, not a list of interchangeable fitments. Ask the tyre manufacturer for the chosen product’s dimensions and rolling data before making a fitment decision. Bridgestone’s replacement manual requires the manufacturer’s diameter tolerances and separate clearance checks; similar diameter alone does not establish clearance.
What changes on the road?
Ride comfort
A taller sidewall generally gives the tyre more scope to absorb small road imperfections. With other factors comparable, a smaller approved wheel and taller tyre can therefore be appealing on patched streets and uneven country roads. A lower-profile package often feels firmer. Continental’s tyre size guide describes this comfort and steering trade-off.
Tyre construction, inflation pressure and suspension also influence the result. If you are comparing two cars on a test drive, check whether they have the same suspension specification and tyre type. Otherwise, it is difficult to tell how much of the difference comes from wheel size.
Lower-profile tyres and their wheels can be more vulnerable to impact damage from potholes and kerbs. Consider that exposure if damaged roads feature heavily in your routine. Bridgestone’s replacement tyre manual describes this trade-off.
Steering response
A shorter sidewall can give more immediate steering response by reducing flex. Continental’s guide to tyre proportions describes this effect. Use it as a reason to compare confirmed packages on your car, rather than treating diameter as a performance score.
Set a clear objective before upgrading. If you want quieter motorway travel, focus your tyre search on comfort and noise. If you want sharper steering, compare suitable performance tyres as part of the package. Michelin’s guidance on driving style makes this distinction useful when selecting tyres.
Wet-weather behaviour
Wider tyres bring their own compromises. Water depth, speed, tread condition, tyre design and pressure all affect aquaplaning risk; choosing a larger diameter does not resolve those factors. Continental’s aquaplaning guide identifies wide, low-profile tyres and underinflation among the risk factors.
When comparing tyre options, give wet-weather performance proper weight. Think about a rainy journey home as well as how the wheels look parked outside.
Compare the actual products
Ask for the weight of each wheel and its matching tyre in the exact specifications you intend to buy. Record the source of each figure and compare complete packages, rather than assuming that diameter tells you which option is lighter.
Keep your objective specific. If a supplier recommends a wheel for comfort, steering feel or efficiency, ask for the relevant vehicle test or manufacturer data. Avoid turning a claim about one product into a prediction for every wheel of that diameter.
Keep load capacity and application approval beside the weight figures in your comparison. OZ’s preliminary mounting checks require an approved vehicle application and adequate wheel load capacity. A lighter candidate still needs those checks before it belongs on your shortlist.
The fitment details that matter
Two wheels with the same diameter can sit in very different positions or clear different brakes. Give your supplier the full specification and ask for a vehicle-specific assessment.
| Detail | What to establish |
|---|---|
| Width | The chosen tyre permits that rim width, and the assembly has sufficient clearance. |
| Bolt pattern | The number of fasteners and their pitch-circle diameter match the vehicle. |
| Offset | The mounting position suits the wheel width, suspension and bodywork. |
| Centre bore | The wheel locates correctly on the hub, with the specified centring system where required. |
| Brake clearance | The barrel and spoke shape clear the actual brake package. |
| Load capacity | Both the wheel and tyre meet the vehicle’s requirements. |
| Fasteners | The nuts or bolts have the correct seat, dimensions and engagement. |
Use OZ’s preliminary and mounting checks as a manufacturer-specific example of application approval, mounting hardware, load capacity and clearance. Ask your chosen wheel maker for the corresponding instructions; a compatible bolt pattern is only one part of the assessment.
For a road-wheel upgrade, tyre load capacity and speed rating should meet or exceed the original specification. For wheels, ask the supplier to verify the vehicle manufacturer’s required capacity rather than using a quarter of the empty car’s weight. Continental’s upsizing requirements cover tyre ratings, while OZ’s load check requires its wheels to meet the car manufacturer’s specified wheel load.
Offset, usually shown as ET followed by a value in millimetres, measures the distance between the wheel’s centreline and its hub mounting face. At the same width, reducing positive offset moves the wheel outward; increasing it moves the wheel inward. Width changes affect both edges too. Mickey Thompson’s technical bulletin on offset explains the mounting position.
Some aftermarket wheels use a larger centre bore with correctly specified centring rings. Those rings locate the wheel on the hub; they do not solve an unsuitable offset or bolt pattern. Follow the wheel maker’s mounting instructions. OZ’s mounting manual explains its vehicle-specific centring rings and mounting hardware.
Ask for confirmed brake clearance before choosing the smallest option. Have the supplier assess the barrel and spoke profile against your brake package. OZ’s installation checks require unobstructed wheel rotation after mounting.
Finally, have clearance assessed through steering movement and suspension travel, including loaded conditions. A photograph of a stationary car cannot demonstrate all of that. Continental’s upsizing checklist calls for sufficient body and chassis clearance under service conditions.
Match the package to your everyday driving
Once the compatible options are established, decide what you want the car to feel like. These are starting points for a shortlist:
| Your main priority | A useful direction to explore |
|---|---|
| Urban comfort | A smaller approved diameter with more tyre sidewall. |
| Long journeys | A familiar factory-sized package and tyres selected for comfort and noise. |
| Sharper response | A moderate approved increase, suitable tyres and a careful weight comparison. |
| A stronger visual presence | Compare compatible designs on the car from several angles. |
| Predictable costs | A size with good availability across the tyre models you would buy. |
For example, imagine a commuter choosing between two confirmed factory alternatives. One gives the appearance they prefer; the other leaves more room in the budget for their preferred tyres. Write down the full fitted price of each, then consider which benefit will matter during an ordinary week.
If you can test comparable versions of the car, drive a route that includes familiar surfaces. Pay attention to low-speed bumps, motorway noise and steering feel. A short drive on smooth tarmac may leave the most relevant differences unexplored.
There is no universal best diameter. Seventeen inches might be a useful option on one car and too small to clear the brakes on another. Your compatible choices define the decision.
Give EVs and seasonal setups their own checks
For an electric car, compare the manufacturer’s information for the approved packages. Wheel design, tyres and vehicle configuration deserve attention alongside diameter. Some vehicles also require the selected wheel configuration to be updated in their settings. Tesla’s Model S manual, for example, links that setting to range estimates and tyre-pressure warning levels. This is a vehicle-specific instruction. Tesla’s wheel configuration guidance gives the details.
A separate winter set needs the same care with brakes, tyre ratings and mounting. If the car uses different front and rear sizes, preserve the specified arrangement unless the manufacturer approves an alternative. Check the handbook for any seasonal instructions before ordering.
Budget for the complete package
The wheel price is the beginning of the comparison. Get a written fitted quote covering tyres, mounting, balancing, suitable fasteners and any required centring rings. Include tyre-pressure sensors or service parts where applicable, plus any setup work your vehicle requires.
Then price a replacement set of the same tyres in each candidate size. Availability matters too: a size is less convenient if your preferred replacement tyre is difficult to obtain locally. Check the options before committing to four new wheels.
Compare equivalent tyre categories across the packages. A touring tyre and a performance tyre have different aims, so a price difference between them does not isolate the cost of wheel size. Bridgestone’s replacement tyre guidance also reinforces the need to check the approved rim range for the particular tyre.
Allow some room for maintenance and the unexpected. You should feel comfortable replacing a tyre or a damaged wheel without having to abandon the specification you carefully selected.
Choose the look with the whole car in view
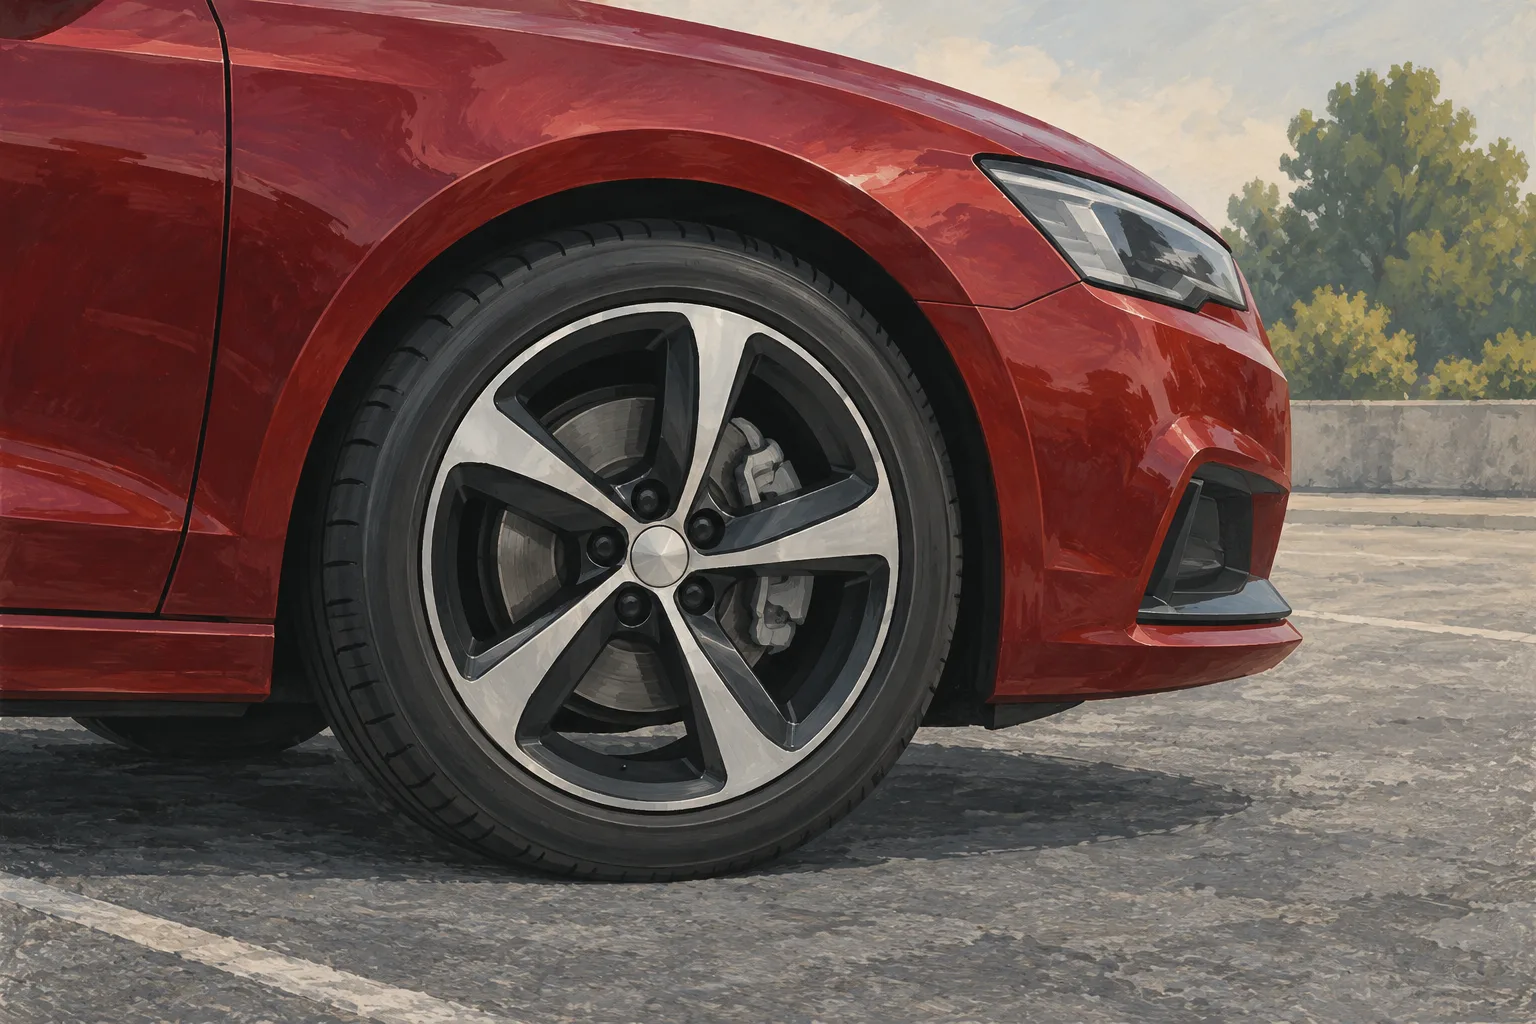
Spoke design, colour and finish can change the impression of size. View your shortlist from the side and from a front three-quarter angle, preferably using photographs of your own car. A close-up wheel image gives you little sense of its relationship to the bodywork.
Keep the visual comparison realistic: consistent ride height, sensible tyre proportions and the same viewing angle. If you use an image edit to explore a design, treat it as a styling aid. A fitter still needs to confirm the physical specification.
Before you order
Work through these steps with your supplier or fitter:
- Confirm the car: exact model, year, trim, brakes and relevant modifications.
- Confirm the package: wheel dimensions, offset, bolt pattern, centre bore, tyre size and ratings.
- Check the limits: load capacity, brake clearance, steering clearance and suspension travel.
- Check the tyre data: permitted rim width and the manufacturer’s dimensions or rolling data.
- Confirm the installation: mounting hardware, pressures, balancing and any sensor or configuration work.
- Compare the costs: the complete fitted package and a future replacement tyre set.
After installation, follow the vehicle and wheel manufacturers’ instructions for torque and any subsequent checks. OZ’s installation instructions describe vehicle-specific torque, unobstructed wheel rotation and subsequent fastener checks. Have unexpected rubbing or vibration investigated promptly.
Choose the package you will enjoy living with: a design you like, tyres you can afford to replace and a specification confirmed for your car. That combination makes the decision satisfying every time you drive.